

Phone Photos to Sell Your Home: A Practical Guide
How to take photos to sell your home using only your phone: lighting, framing, shot order and the mistakes that scare off buyers. A step-by-step guide.

Photos are the first thing a buyer sees before deciding whether to schedule a visit or keep scrolling. The good news is that you no longer need a professional photographer or expensive equipment to get images that sell your home faster: with a recent phone, some natural light and a little tidying, you can produce a set of photos that rivals a real estate agency's. In this guide I walk you through, step by step, how to take photos to sell your home that actually generate inquiries.
Prepare the house before shooting
Before you pull out your phone, the house needs a brief but decisive round of preparation. This stage often makes more of a difference than whatever camera you use.
- Clear surfaces: remove cables, piled-up mail, visible cleaning products and excess decor. Kitchens and bathrooms look bigger without items on the shelves and counters.
- Put away personal items: family photos, medications, hanging clothes or toys on the floor distract the buyer and keep them from picturing themselves living there.
- Open curtains and blinds: natural light is the most powerful resource you have, and it's free.
- Turn on all the lights even if it's daytime; it helps avoid dark areas in the image, especially in hallways or closets.
- Clean thoroughly floors, windows and mirrors: in photos, any stain or dust shows up more than in person.
- Rearrange furniture to open up walking paths so the spaces look roomy, not cramped.
If the property is vacant, consider leaving a few basic items (a table, an armchair) so the photos don't look cold; completely empty spaces tend to look smaller on camera.
Quick tip
Do a final walk-through of each room looking only through your phone's screen, not with your own eyes. The camera "crops" the space differently than how you see it standing up, and that's where you'll spot details you missed.
Natural light and the best time of day to shoot
Light is the factor that most affects the perceived quality of a photo taken with a phone. As a general guide:
- Interiors: shoot during the hours of the day with diffused light, avoiding direct sun coming through the window, which tends to blow out the image and create harsh shadows. An overcast day, as contradictory as it sounds, can give more even results.
- Facade and exteriors: the so-called "golden hour" (shortly after sunrise or before sunset) gives a warm, flattering light. If that's not possible, try to avoid midday, when the sun casts harsh shadows.
- Avoid backlighting: don't shoot toward a brightly lit window; the room will come out dark and the window overexposed. Stand with your back or side to the main light source.
- Don't use your phone's flash as your main light source: it flattens the image and creates unnatural reflections on floors and glass.
Set up your phone correctly
You don't need professional equipment, but a few adjustments make a noticeable difference:
| Setting | Why it matters |
|---|---|
| Clean the lens before you start | A fingerprint can ruin the whole set without you noticing on the small screen |
| Use the native camera, not third-party apps | It usually gives better quality and control than apps with automatic filters |
| Turn on the grid | Helps keep horizontal and vertical lines straight, which is key indoors |
| Avoid digital zoom | Walk closer instead of zooming; digital zoom quickly loses sharpness |
| Tap the screen to set exposure | By tapping the most important part of the frame, the phone adjusts brightness and focus right there |
| Use landscape (horizontal) mode | Most real estate portals display horizontal photos better than vertical ones |
If your phone has an HDR mode, turn it on for interiors with windows: it helps balance bright and dark areas in a single shot. If your device has a wide-angle lens, use it sparingly in small spaces, and make sure it doesn't distort the lines of walls and furniture too much.
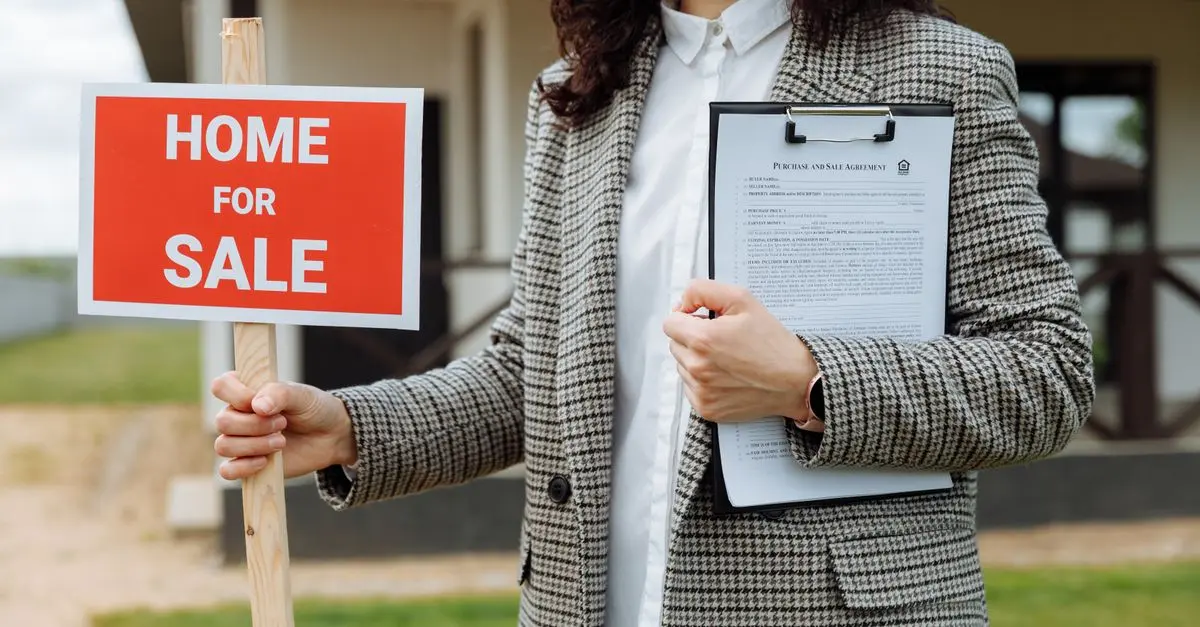
Framing, angles and what to photograph in each space
The right framing makes a space feel bigger and more orderly. Some practical rules:
- Shoot from a corner of the room, not from the center. That way you capture more depth and show two walls instead of just one.
- Hold your phone at chest height, level (neither tilted up nor down), so vertical lines don't look crooked.
- Take several photos per room: a wide general shot, one or two detail shots (built-in kitchen, window view, closet) and, if applicable, one of the bathroom and shower.
- Living and dining room: show the relationship between the two spaces if they're connected; it helps buyers understand the layout.
- Kitchen: include shots of the counters, cabinets and any appliances that stay with the sale.
- Bedrooms: photograph with the bed made and show the closet open if it's tidy.
- Bathrooms: watch for mirror reflections (avoid getting yourself in the photo) and make sure no toiletries are in view.
- Exteriors and common areas: garden, terrace, garage, pool or condominium amenities, if any, always add visual value.
- Facade: shoot it head-on, then slightly from the side to add depth, and preferably without cars parked right in front.
Ideal photo order in your listing
The order in which photos appear in your listing influences how long a buyer stays on it. The cover photo is the most important: it should be the facade or the living room, well lit and appealing.
- Facade or main exterior view
- Living room
- Dining room
- Kitchen (one or two shots)
- Primary bedroom
- Primary bathroom
- Secondary bedrooms
- Secondary bathrooms
- Common areas or amenities (garden, terrace, garage, pool)
- Additional details (storage room, laundry room, window views)
A complete set usually includes between 15 and 25 photos, depending on the size of the house. Fewer than 10 tends to breed distrust; more than 30 can overwhelm and make people browsing the listing on their phone lose interest.
Common mistakes that scare off buyers
Avoid these frequent mistakes
- Dark photos, or yellow indoor lights mixed with daylight (which creates an unnatural green or orange cast)
- Mirrors, pets, people or your own reflection showing up in the shot
- Vertical or rotated photos that look bad in the listing
- Bathrooms with the toilet lid up or personal items in view
- Heavy filters that alter the real colors of floors or walls
- Repeating many nearly identical photos from the same angle instead of varying them
- Exterior photos on a cloudy or rainy day when you could have waited for a better one
Also remember to check how the photos look together once they're uploaded to the listing: the small thumbnail in the search results is where the buyer decides, within seconds, whether to open the details. If you've already worked out your property's price, photos that show off that value well help the listing feel fairly priced; you can lean on our guide on how to price your home and the how much is your property worth tool before publishing.
Before you publish
Have your documents in order (escrituras, predial, proof of no outstanding balance) so you can respond quickly to interested buyers as soon as messages start coming in. Check our document checklist as a general reference.
Frequently asked questions
Do I need a high-end phone to take good photos of my home?
It's not essential. A recent mid-range phone, with good natural light and careful framing, can deliver good enough results for an attractive listing. The light and the tidiness of the space matter more than the device model.
How many photos should I upload to my listing?
As a rough guide, between 15 and 25 photos is usually an adequate range for a full house, covering the facade, each room and the common areas, without cluttering the listing with repeated images.
Is it a good idea to use filters or editing to improve the photos?
Light adjustments to brightness and sharpness can help, but it's best to avoid filters that significantly alter the real color of floors, walls or finishes, since that can create expectations that differ from what the buyer finds at the in-person visit.
What time of day is best for photographing the exterior of the house?
The golden hour, shortly after sunrise or before sunset, usually gives a warmer, more flattering light for facades and gardens. If that's not possible, try to avoid midday because of the harsh shadows direct sun creates.
Ready to list your home with photos that actually sell?
Listings
Recent properties
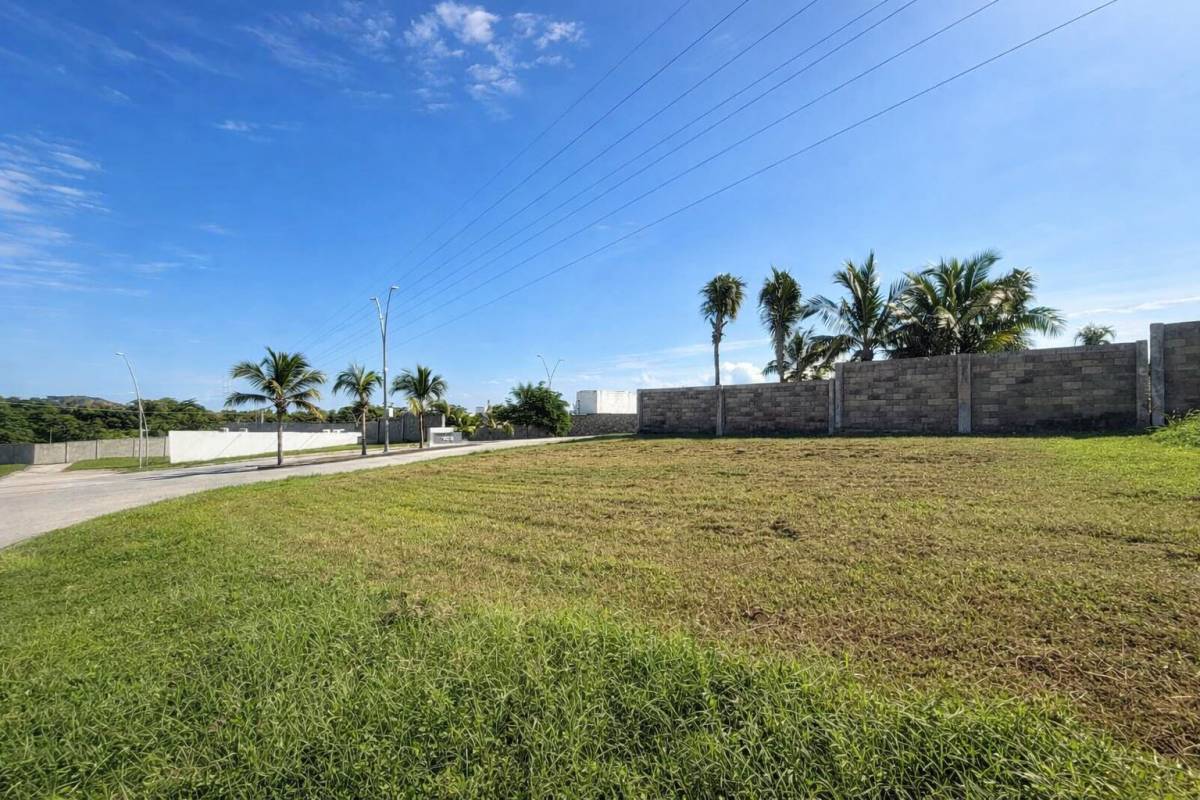 For sale
MX$1,440,000
Land
Land for Sale in Residencial Lomas del Dorado
Boca del Río, Veracruz
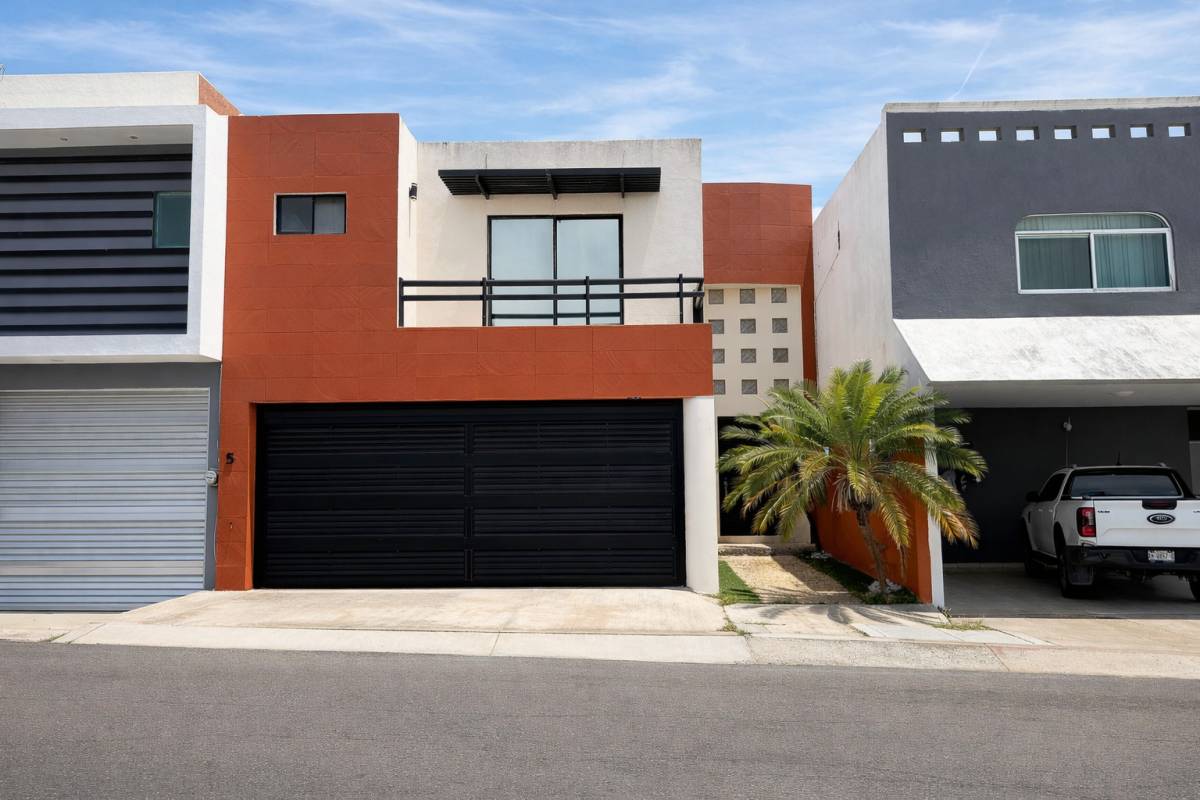 For sale
MX$3,900,000
House
House for Sale in Las Lomas, Riviera Veracruzana | 3 Bedrooms with Private Bathrooms
Alvarado, Veracruz
 For sale
MX$10,900,000
Land
Attention Investors
Puerto Vallarta, Jalisco
Keep reading
Related articles

How to Adapt Your Home for an Older Adult: A Practical Guide
How to adapt a home for an older adult with practical changes to lighting, floors, bathrooms and entrances, so the property stays safe and functional long term.
María Elena Rodríguez

How to Photograph Your Home for a Listing (Practical Guide)
A practical guide to photographing your home and selling faster: preparation, natural light, framing, tidiness and mistakes to avoid. Pro-looking photos even with a phone.
Inmobiliaria32 Team
Buying a Home as a Single Person: A Practical Guide
Buying a home on a single income is doable if you plan your down payment, credit history, and property type well. A practical step-by-step guide.
Inmobiliaria32 Team

How to Sell My House Fast in Mexico: 2026 Guide
Practical strategies to sell your house fast in Mexico in 2026: the right price, preparation, photos, marketing and negotiation. A complete step-by-step guide.
María Elena Rodríguez
Selling your property
Keep learning before you decide
35 guides on selling your property, and thousands of properties listed across Mexico.